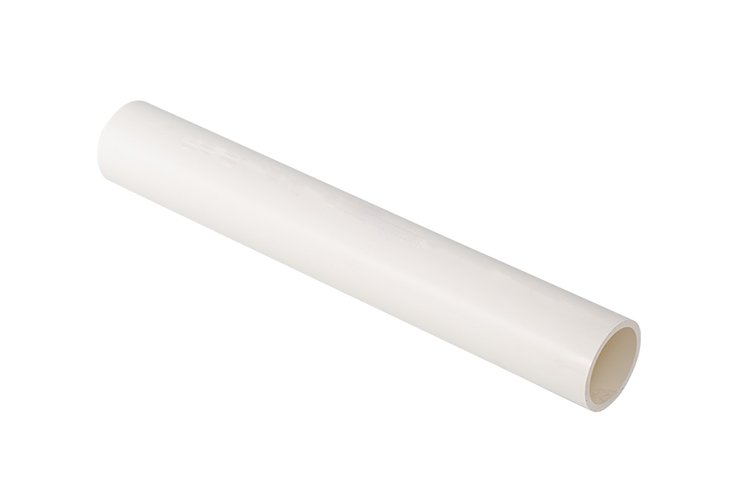
PVC Drainage Pipe
Hualin is one of the leading manufacturers of PVC drainage pipes in the industry. We are committed to providing high-quality PVC drainage pipe products to meet your business needs. Send us your design requirements now!
Envoyez votre demande dès aujourd'hui
Use Hualin PVC Drainage Pipe to Ensure Your Customers’ Satisfaction.
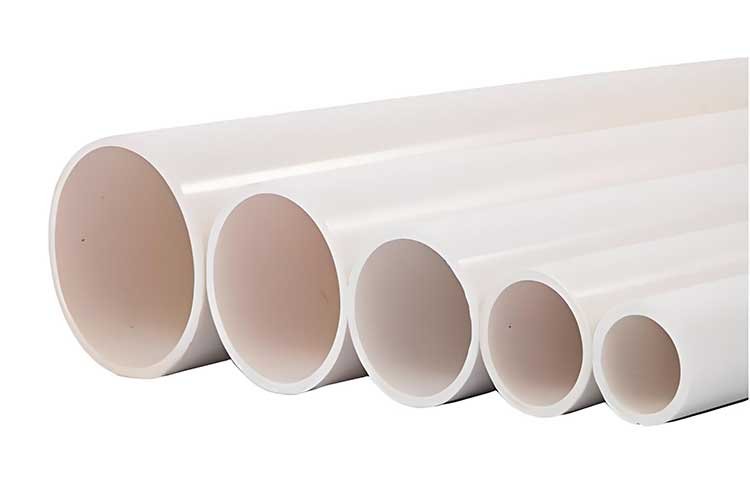
HualinPVC drainage pipes are made of high-performance polyvinyl chloride, possessing excellent material properties. All types of polycarbonate pipes we produce have obtained CE certification.
Hualin’s PVC pipes are made from PVC material, ensuring superior quality and a longer service life than ordinary pipes. Our PVC products are not only comfortable to use but also have excellent chemical resistance.They have good electrical insulation but poor impact resistance.
For indoor and outdoor drainage pipeline projects in industrial and civil buildings, the temperature of continuously discharged domestic sewage shall not exceed 40℃, and the temperature of instantaneously discharged sewage shall not exceed 80℃.
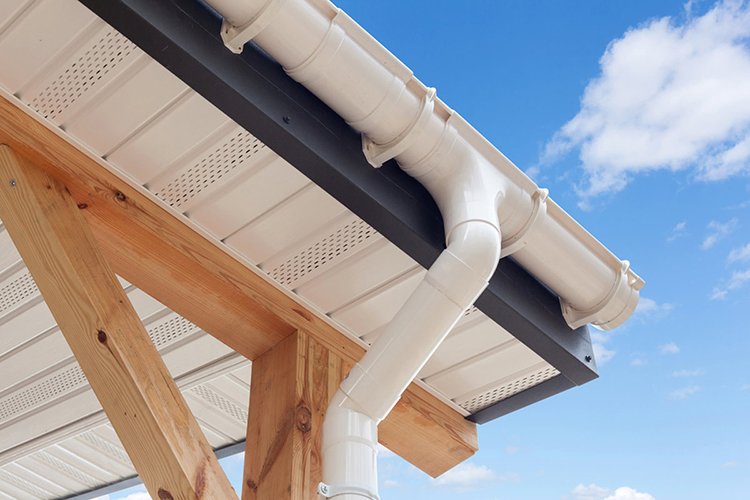
A roof drainage system mainly consists of components such as eaves gutters, rainwater hoppers, and drain pipes. Eaves gutters (also known as rainwater channels) are horizontal, trough-shaped drainage channels located under the eaves.
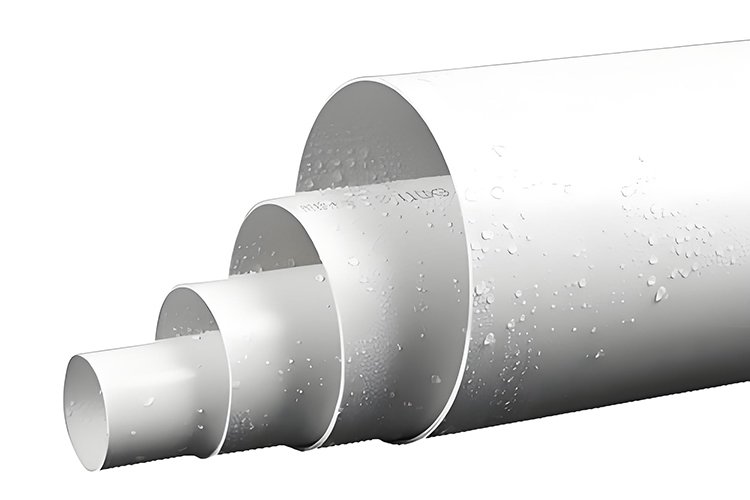
Main Features of PVC Drainage Pipes
Envoyez votre demande dès aujourd'hui
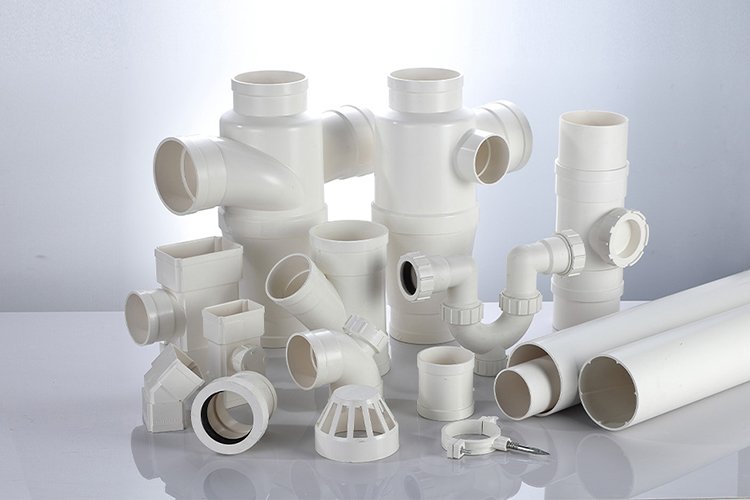
Applications of PVC Drainage Pipe
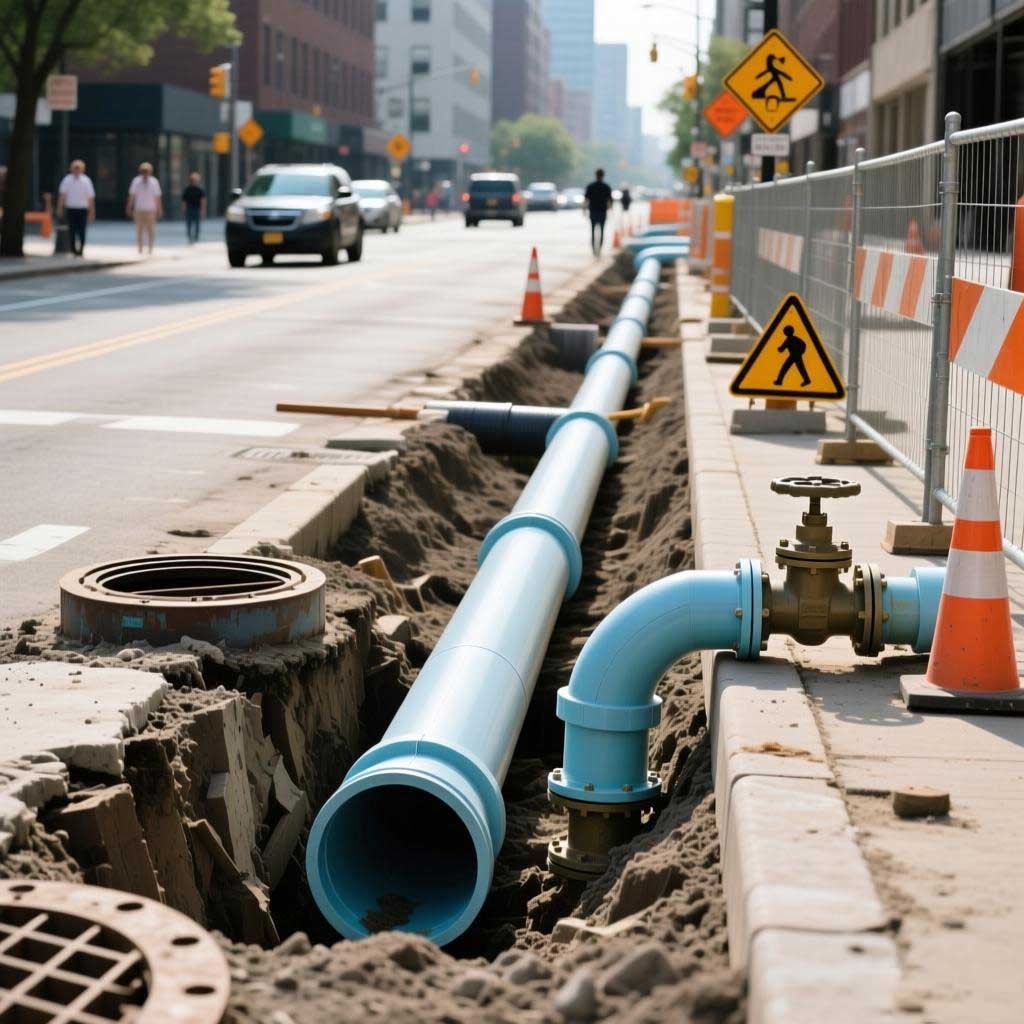
Along both sides of urban roads, storm drains are typically installed. PVC drainage pipes connect these drains to the municipal stormwater drainage network, quickly draining rainwater from the road surface and preventing flooding that could disrupt traffic.
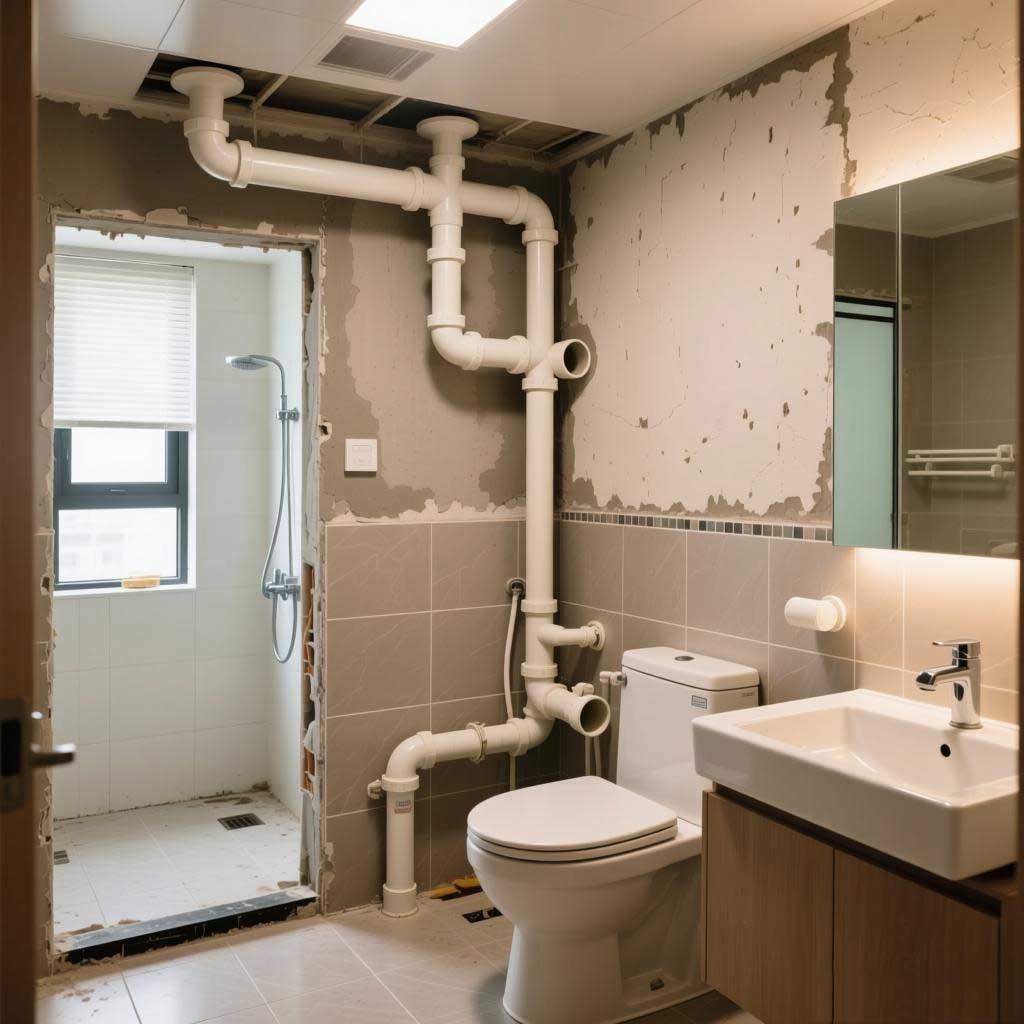
PVC drainage pipes are also indispensable in residential buildings, shopping malls, office buildings, and other commercial buildings. Large amounts of oily wastewater need to be discharged through PVC drainage pipes, which then discharge the grease-separated wastewater into the municipal sewage network.
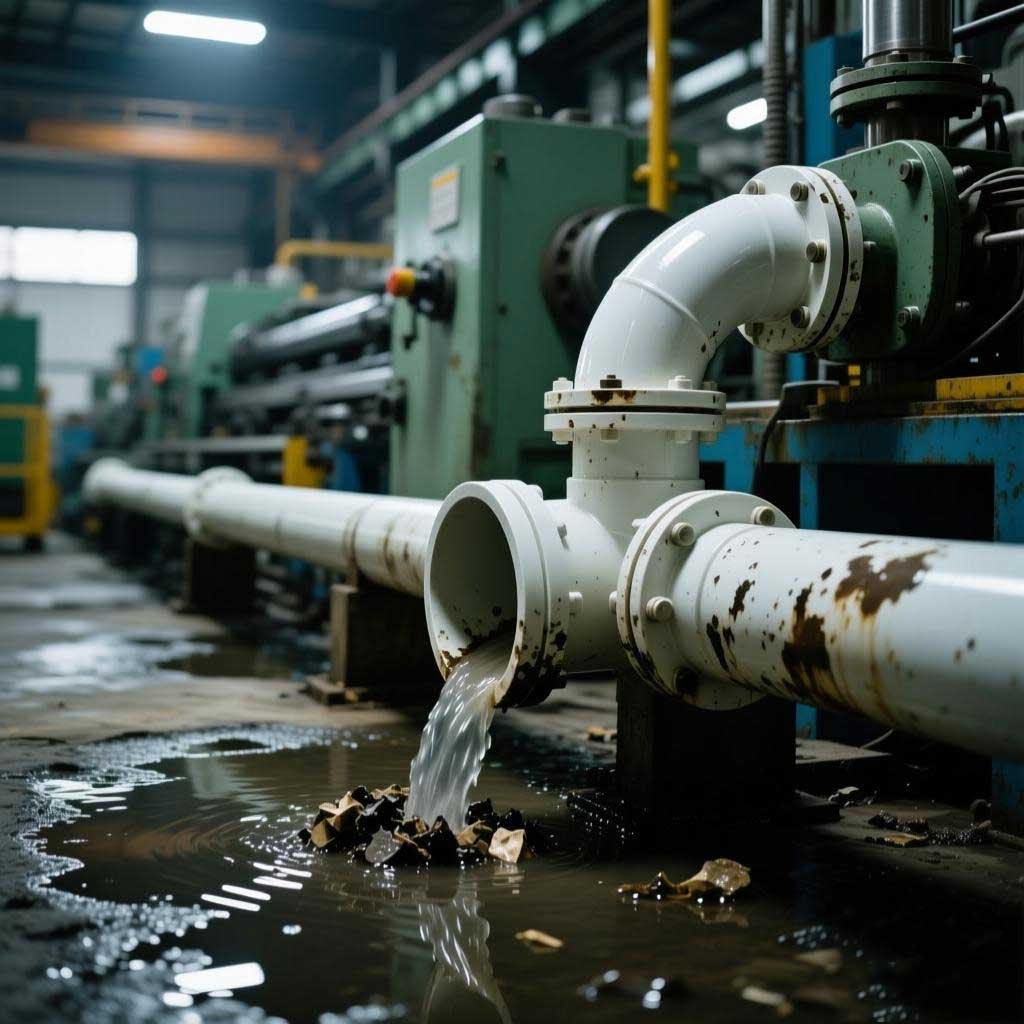
PVC drainage pipes are selected based on the properties of the wastewater, using appropriate materials and specifications to discharge different types of wastewater. For example, in chemical workshops, PVC pipes must have corrosion resistance.
Hualin Pipe Technology: Your Leading PVC Drainage Pipe Manufacturer
Hualin and Juntong are both Chinese manufacturers specializing in pipes and rainwater harvesting modules. We are committed to providing you with one-stop solutions for plastic processing and rainwater harvesting modules.
As a renowned PVC pipe manufacturer, we possess the comprehensive capability to produce world-class PVC products to meet your business needs.
Please feel free to nous contacter with any questions; we will respond promptly.
FAQ
Articles connexes
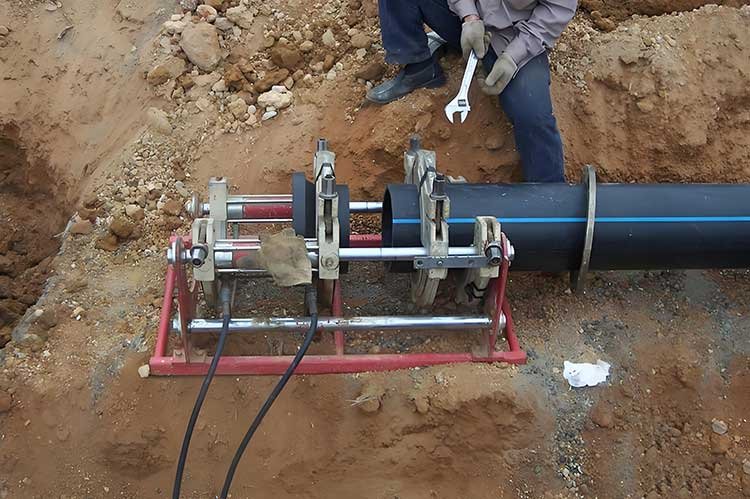
Qu'est-ce que le soudage par électrofusion du PE ?
Les méthodes de raccordement des tubes PE les plus courantes dans l'installation des pipelines sont les suivantes : raccordement par fusion thermique, électrofusion...
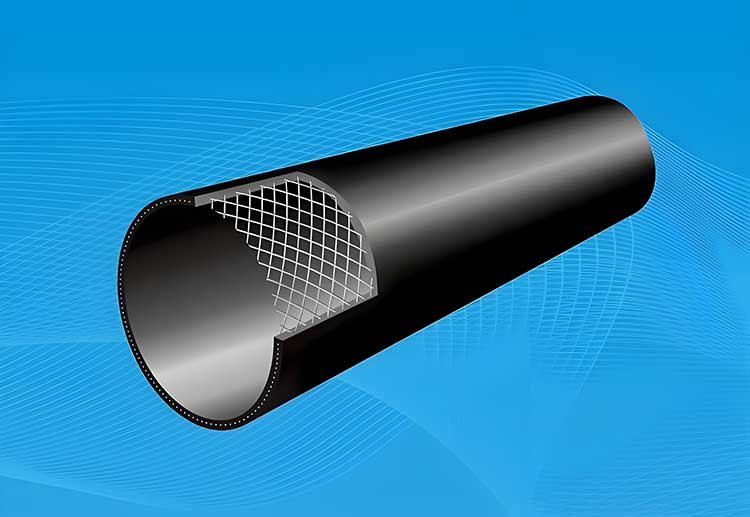
Qu'est-ce que le tube composite en fil d'acier PE ?
Vous recherchez des matières plastiques adaptées à l'approvisionnement en eau et à l'évacuation des eaux usées au niveau municipal ? Le fil d'acier PE...
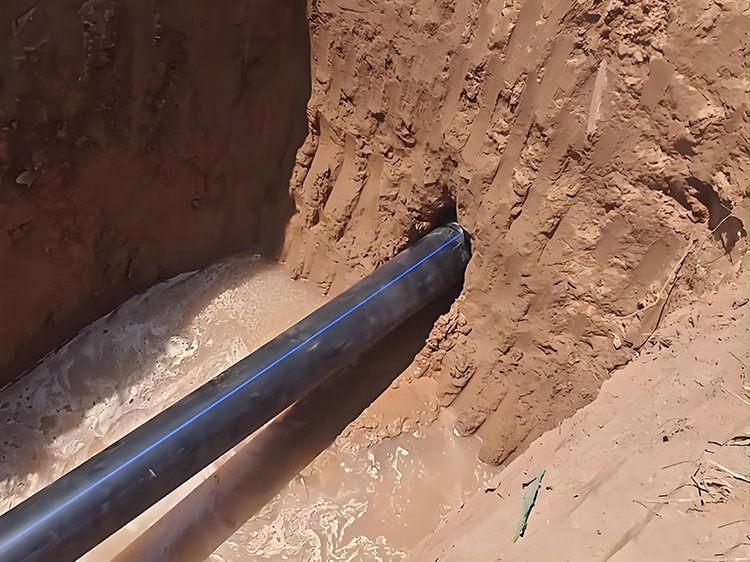
Guide complet sur la technologie des tuyaux en PE sans tranchée
Avec l'accélération de l'urbanisation mondiale, la construction municipale nécessite la pose et le remplacement d'un...
des solutions de triage personnalisées
Obtenir un devis aujourd'hui
Chez Hualin, chaque projet est unique.